
Choose an Image
Because your favicon is incredibly small. About 16x16 pixels! You want to choose something that is going to be visible at such a tiny size. Which means sorry, that cute picture of your dog, it's not going to be very visible. But a clipart picture of a dog might be! It can be a bit of trial and error before you find out what is actually going to look good at such a small size.Here are some examples:
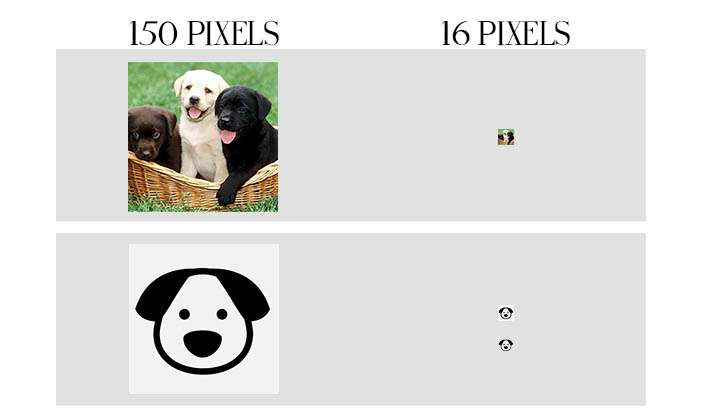
So the first one is a bust, to no one's surprise, but the second one! Puppies for all! As a bonus, see how much the dog icon stands out when there's no white around it, just some left inside the dogs face. That's because it's surrounded with transparent pixels. Don't freak out just yet! I'll explain everything..
Welcome to Photoshop
I'm sorry, I know there's probably quite a few people that don't have photoshop, but if you're quite keen on blogging it's definitely worth it! I'm going to show you how to create a super basic and Favicon for your blog using an icon from The Noun Project. So the Noun Project has free to use icons, that all you have to do is put a small disclaimer somewhere on your blog about where you got it. Otherwise you can pay a couple of dollars and use it without fear forever!So go ahead, click on over to The Noun Project and pick out your icon. The search system is fantastic and there's a lot to choose from so have a look!
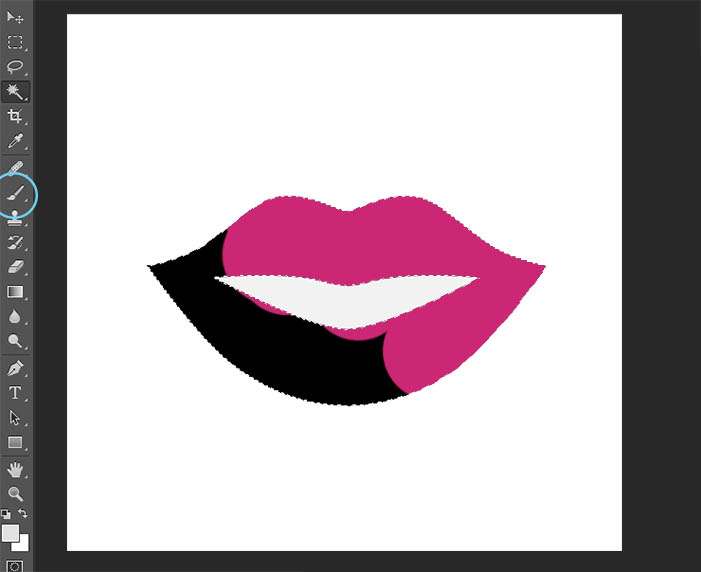
For my example today, I thought I'd pretend I'm a beauty blogger and choose some lips!
So all of the icons are black, so I will super quickly run through how you can colour them really easily.

Select your icon with the Magic Wand tool (in the blue circle) You want all black pieces of your icon selected. You can hold down command + shift (control + shift on PC) while you click to be able to select them all at once. After you've selected it all, go ahead and click on the paint brush tool, pick a colour in the palette down the bottom on the left. It will look like two squares.
Then paint in your icon whatever colour you want! Here's my lips half painted pink. Go nuts! For icons with more detail, you can select different parts at a time, to paint things different colours.
Now Back to It!
I've painted my lips a lovely pastel pink colour and now I want to shrink it down to use it as a Favicon. But first, what will look better than a fully white square around the lips would be either no white space, or a small white circle around the lips. So go ahead and cut them out.You can always leave the square if you like! Otherwise your icon should be looking like one of these.

Those checkered squares are transparent or blank space, so once your image is out of photoshop, they won't appear when you view your icon.
Rezize Time!
Go up to your toolbar that runs along the top of your screen. Click "Image" then "Image Size" and you want to resize it to 16 pixels by 16 pixels. Unless your image is a perfect square then you won't be able to get it exactly 16x16. So make sure it is first. Now shrink that baby down!Note: If you have an icon already and are unable to shrink it, Blogger auto does it for you! So scroll down and skip to installation instructions!
Once You've shrunk it down to 16x16 pixel you have to save it as a special file type in order to keep the transparent pixels. So if you have the empty space, save it as a PNG file. If your square is full of white space or colour, go ahead and save it as a JPEG.

So here are four different examples of how your icon can go, I picked a pastel pink, and it stood out really nicely with the white circle, but without, it blended in too much with the grey. In a darker pink it stood out a lot nicer, the first one is the lips with the white still in the middle, and the last one is without. There are so many options!
Installation!
Phew! I hope that wasn't too confusing.
Okay on Blogger you want to go to your template settings option! It's down the bottom of that list of links that is underneath the big orange "NEW POST" sign. You would have been there before because it let's you move around all your blog stuff.
There's a small white rectangle in the top left hand corner of the templates box, that you've probably ignored before now. It says "Favicon"! It's a good sign.
Click "Edit" A box will pop up for you. Then you just need to press "Choose File" and go ahead and find your icon image that you've saved. Click on it and then press save and you are DONE!
Woohoo! Sadly, it can take a few days before it officially attaches to your account so that it's visible to you and the world. But if you can see it in your template settings then just know it's loading up.
(Here's a Wordpress Install Guide)
Tada! Easy peasy, and not stressful at all.. I hope..
Remember you can use whatever image you want, it just needs to be an exact square shape. Try to pick one that actually matches your blog and it's theme and colour scheme.
If that was actually super confusing and you have any questions, post them in the comments and I will help out as much as I can!
Cya! xx
More from Blogging 101:
- The Sidebar
- Template Design Basics
- Creating a Photo Header
- Setting out a Blog Post
- Add Your Blog Link to Comments
- How to Remove the Frame on Bloglovin'

Follow Me on Bloglovin' / Follow Me on Instagram