
Hey guys! I'm going to attempt my first basic type guide to creating a blog header. I'm going to be using Photoshop during my guide but you should be able to follow along using most photo editors.
(You can download a 30 day trial of photoshop here!)
Remember practice makes perfect!
If anyone needs any extra information, or has a question please leave it in the comments and I'll do my best!
Today we'll be making a header with a photo or image behind it.
Let's Begin!
First things first, I'm going to use the dimensions of a typical blogspot header. You may need to adjust your header size to fit your own blog template. Sometimes you can find the dimensions with the template so you know what you're working with, other time's its trial and error.
Then press okay, you'll end up with a big white rectangle that will be your base, and your header size.
Next up we are choosing a sweet font style for your blogger header.
Go to Dafont.com and find yourself a font! Once you've found one that you like, you can click the download button at the edge of the font you've chosen. For help on installing fonts go here.
I chose the font DK Double Quick for my example today.
Choose a Background
In choosing a background it's important that the photo doesn't legally belong to someone else, especially without showing any credit to the original photographer. You can use your own picture for this or you can use a free rights one. One of my favourite websites for these free photos is Unsplash so I'll be using them today.Choose a picture that's not too busy, and one that has a bit of space where you could easily place text where it would still be easy to read.

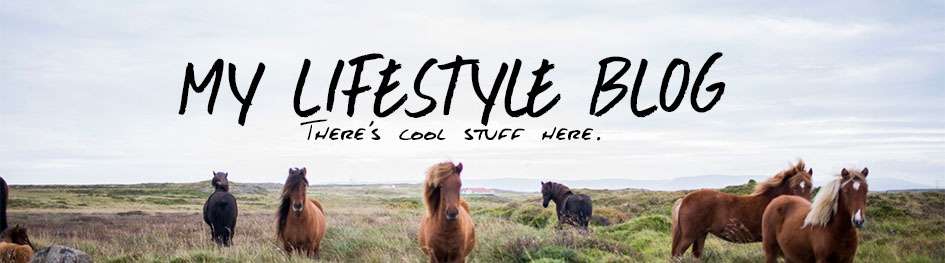
I've chosen this great horses pic, as the open sky is the perfect place for a text heading, while still having space left to see the pretty horses underneath.
Save the picture, or copy it and open it up in your photo editing program.
Your image will likely be a lot bigger than your base header size, so you need to resize it.

After you change the size of new photo to the same width as your base header you can go ahead and copy and paste it on top of your base header.

When you paste your image in, it will probably look dumb and you won't even be able to see everything, no issues, just grab it and move it around until you can see the right amount of everything to your own preference.
Now For Some Text
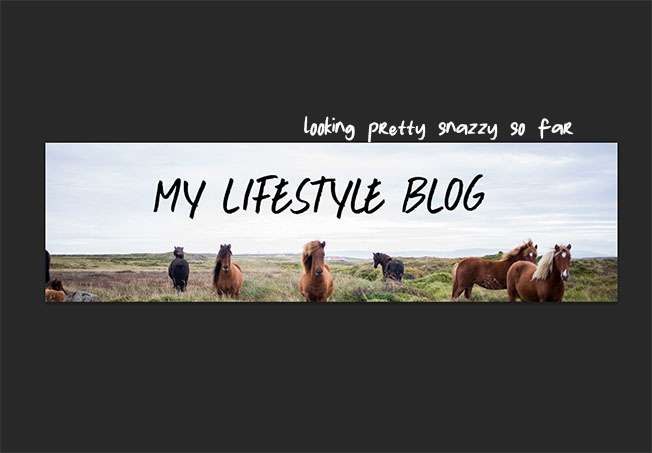
Awesome! Now it's time to add your blog title!Go ahead and click on the T button to open the text section. You can choose the font style, size and colour up the top.

Pick your chosen font, and a colour to start with and then click on your image where you want the text to go. Don't worry you can change the font/size/colour and position at any time if you change your mind! I went with black font because it's always easy to read, especially on a light background.
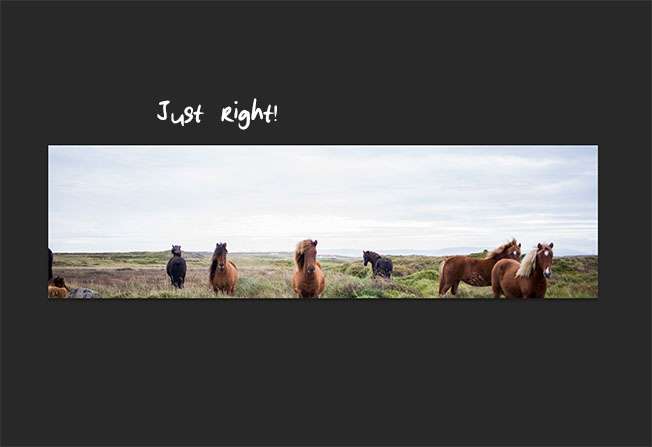
Play around with the position and size until you're happy!
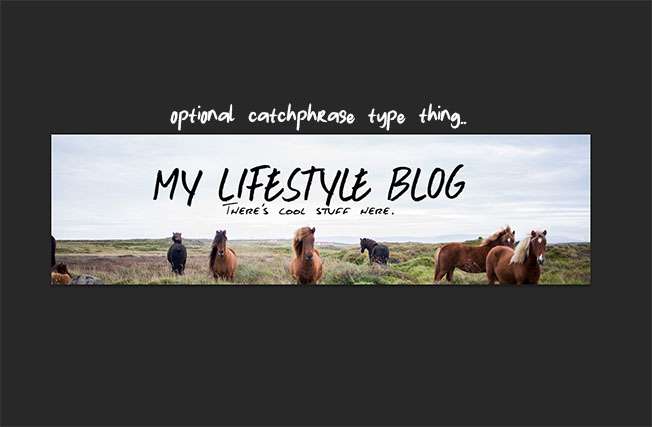
You can add a little subtitle underneath your text if you want to, in a different font.
So there you have it! One pretty nifty blog header! And it's all yours!
For a tutorial on how to install it onto your blog, (with blogger) I found a good tutorial by Plumrose Lane right here.
I hope you found my tutorial helpful! If you have any questions I will try and help out the best that I can!
Cya! xx
More from Blogging 101:
- The Sidebar
- Template Design Basics
- Setting out a Blog Post
- Add Your Blog Link to Comments
- Create a Favicon for Your Blog
- How to Remove the Frame on Bloglovin'


