© 2015 Permanent Procrastination. Powered by Blogger.
Showing posts with label guide. Show all posts
Showing posts with label guide. Show all posts


As many of you know, both in real life and through my blog, I'm a self-proclaimed plant enthusiast. My home is filled with indoor plants, and I've been longing to add English ivy to my collection. I envision it cascading down an indoor climbing wall, transforming it into living art – which is how I see all my plants.
Frustratingly, my local nursery hasn't stocked any ivy lately. Then it dawned on me – I have a wealth of ivy in my very own courtyard! So, I embarked on a journey to learn how to propagate it.
Here's a step-by-step guide on growing your own English ivy from a cutting.


Follow
Follow Me on Bloglovin' / Follow Me on Instagram

Why Dry Brush?
What to Use
 |
| [source] |
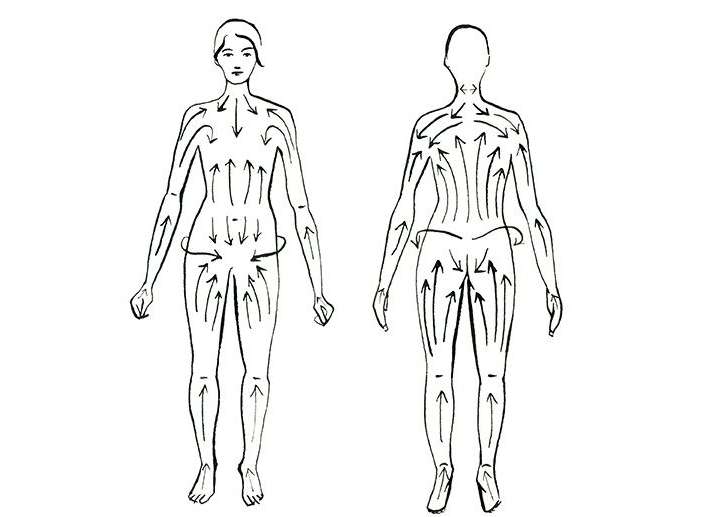
How to Dry Brush
- The best time to Dry Brush is right before you plan to have a shower or bath, so all of those icky dry skin cells you've just exfoliated, can go right down the drain. The morning is good too as a lot of people say they feel energised after dry brushing, so it's a good start to the day.
- Start at your feet and using long even upward strokes, brush from ankles to knees.
- You will always be brushing in the direction towards major lymph nodes in your body. Such as the underarms, groin and base of your neck.
- Circular motions are okay too, especially on areas you would like to focus on.
- Brush over your legs, your abdomen and butt. Spend a little extra time on the booty and upper thighs if you want to work on that cellulite. Always brushing upwards towards your heart.
- Brush your back, either with a brush that has a handle, by using contortionist skills or get someone to help you out.
- Brush up along the outside of your arms, then lift your arms up and brush downwards on the inside of them, and near your underarms.
- Finally brush your shoulders and chest, being careful with sensitive areas.
Helpful Tips
Have you ever dry brushed your skin? What did you think?

Follow
Follow Me on Bloglovin' / Follow Me on Instagram

Saving Money
Divvying Up the Paycheck
Keeping Track with Apps

Taking Control
I honestly don't find it particularly hard to keep in control of all my money. I work a lot, and it's important to know when you can and can't spend. As I take all of my bills/rent/petrol/groceries money out as soon as I get paid, I know that I can do whatever with my remaining money. Sometimes I splurge and sometimes I put it all away in savings. I know that some people struggle with this a bit more if they have loans or debt to pay off, which is understandable. For instance, those that went to college or university may have student loan repayments to think about as well (although they can make this easier by refinancing their loan with Sofi - click here to learn more). Nevertheless, even though it may be more difficult in these cases to effectively manage your money, it's definitely still possible. Create a system that works for you, and stick to it.
You can't really save until you know much money you actually need for general living purposes, so once you have your money sorted out and organised, you will know how much money leftover you have to put into savings!
It's not that hard, you can do it!

Follow
Follow Me on Bloglovin' / Follow Me on Instagram
Thanks so much to everyone who voted for me in the 2015 Savvy Saver Blog Awards! I won most popular post in Finance! Hooray!
Follow
Follow Me on Bloglovin' / Follow Me on Instagram

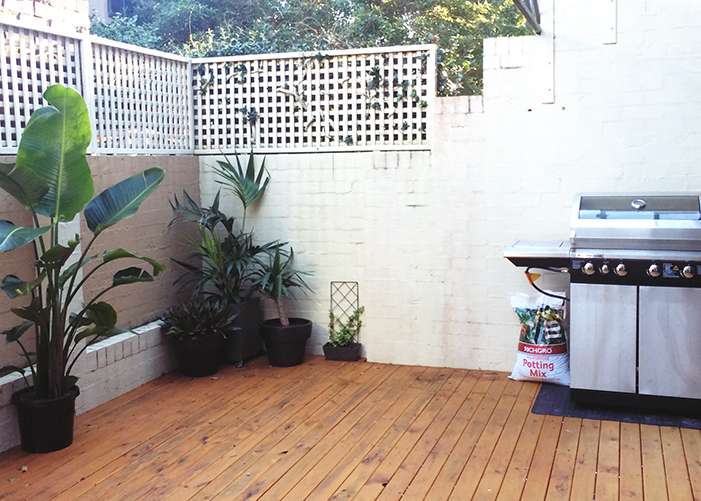
Do you entertain at your place? What's your outdoor area like?
Follow
Follow Me on Bloglovin' / Follow Me on Instagram

Lucid Dreaming - What is it?
Dream Journalling

Reality Checks
Hey I Think I'm Dreaming!

Now What?
Keep Reading:
Follow
Follow Me on Bloglovin' / Follow Me on Instagram

The Bike
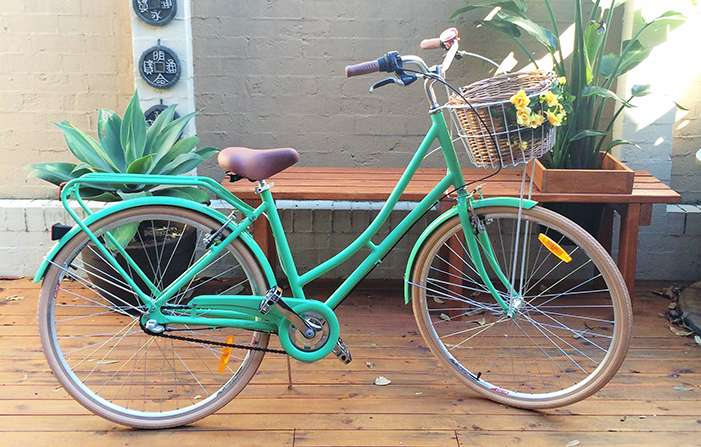
The Basket

The Bell
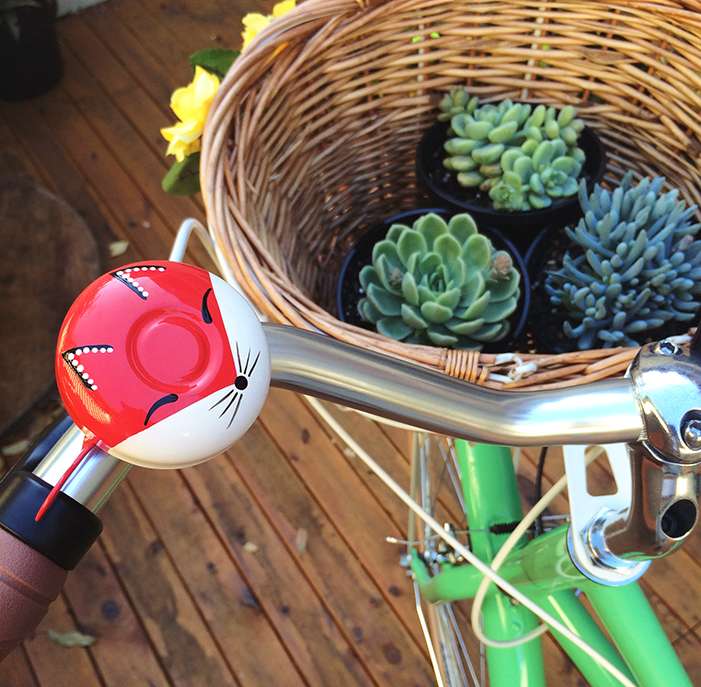
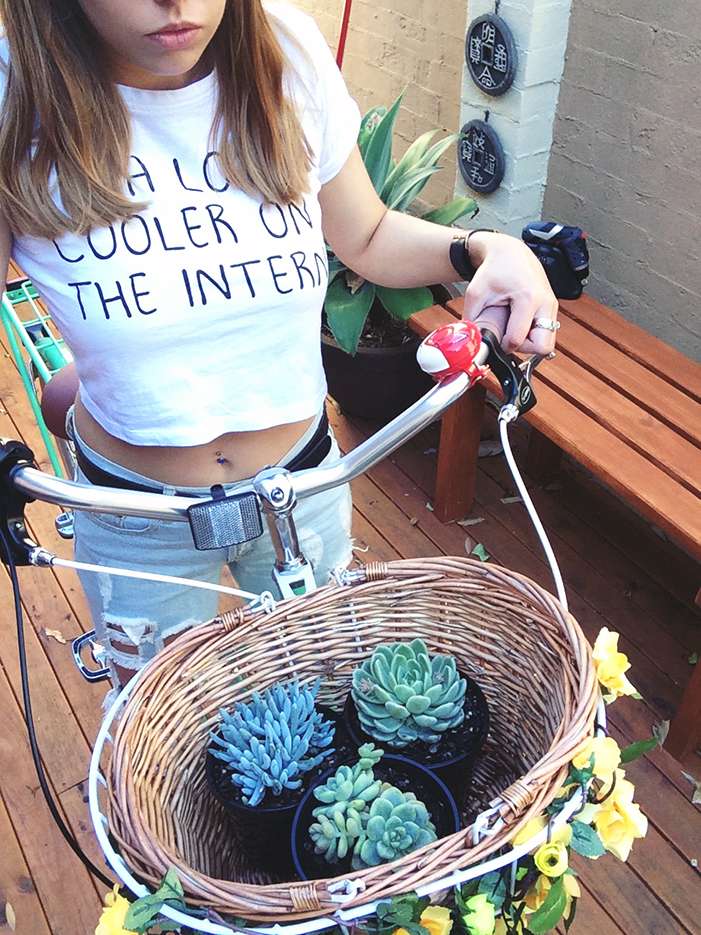
Cya! xxDo you have a bicycle? What have you done to personalise it?
Follow
Follow Me on Bloglovin' / Follow Me on Instagram

Losing Something in the Bookshelf/Fridge/Pantry
 |
| I know they're watching me, judging. |
Losing an Item Somewhere in Your House


Do a Systematic Search
The thought of losing something like your pink diamonds can be inconvenient and annoying- totally nerve-wracking! Retracing your steps might not even help, but stay calm.Of course, it will be freaking that you've lost something important. However, you'll have a more challenging time if you're stressed out. Finding it hard to calm down? Calm down and take a few slow, deep breaths.
Then start looking at it where it should be. If you always keep your wallet in the basket at the door, that should be the first place to look. Do a slow, careful search. Throwing things around frantically and in panic will create a bigger mess.
If you miss the item on the usual spot, you can widen the search area. Check it a few inches from the spot and the surrounding area. Keep widening the search area systematically until you find your lost item.
If All Else Fails
Follow
Follow Me on Bloglovin' / Follow Me on Instagram
Subscribe to:
Posts (Atom)


Social Icons